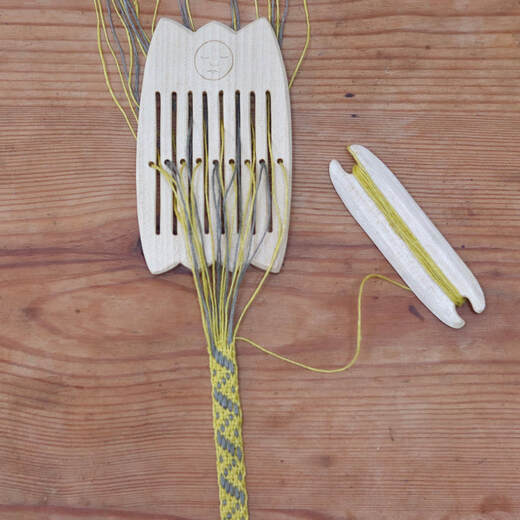
Backstrap weaving is a simple way to get into weaving narrow bands without a lot of bulky equipment. It can be done anywhere that you have a fixed place to attach one end to, this could be something like a window or door handle, the back rail of a chair weighted down with books, a G clamp fixed to a table, or in my case a sturdy desk lamp.
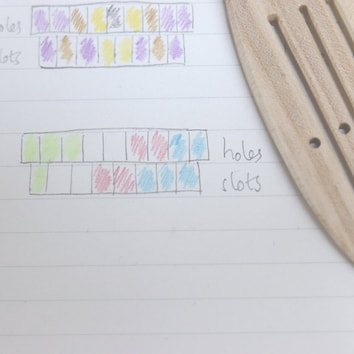
First of all decide on the colours and design of your band based the colours you have available and how many slots and holes on the heddle. Anything from very fine thread up to DK weight knitting wool can be used with my heddles. I used 4 ply merino wool for this band. Weaving in this way produces a warp faced pattern meaning that the long threads that go through the heddle are the ones that will show and the weft that is hidden. The pattern will show the colours in the holes then the slots on alternating rows.
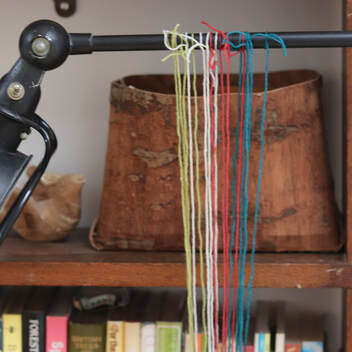
Find somewhere fixed that you can attach the yarn ends to, this could be a window handle, a G clamp fixed to a table etc. In my case I used a desk lamp. Tie the threads on in the order they appear on your pattern, it will alternate between ones which will go through a hole and those which will go through a slot. Cut the threads to a longer than you want your finished band to be to allow room for the heddle and to be tied at the end.
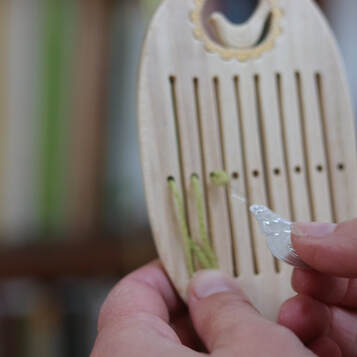
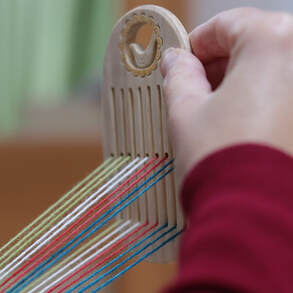
Thread the ends through the heddle in the order they are tied. A needle threader can be useful for the holes if you have one, or you can use a bit of fishing thread or similar for that purpose.
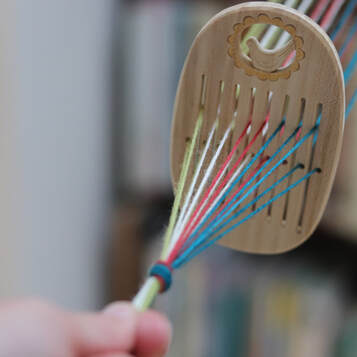
Pull the threads so that the tension is even across all the warp threads,
and knot a little way up from the end.
|
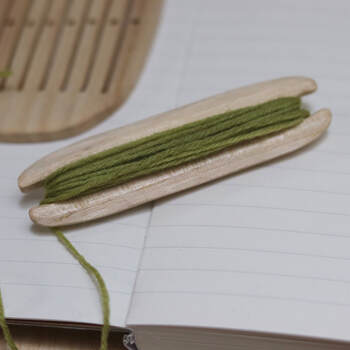
As it will be a warp faced fabric, the thread colour that you choose to load onto the shuttle for the weft won't be seen much apart from peeking out a little bit at the end of rows. Don't overload your shuttle as it will be used to pack down each row as you weave, which will not be possible if the shuttle is very fat. |
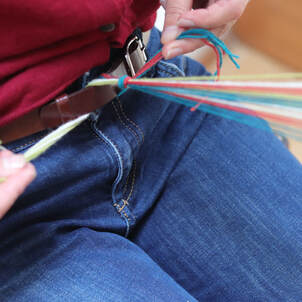
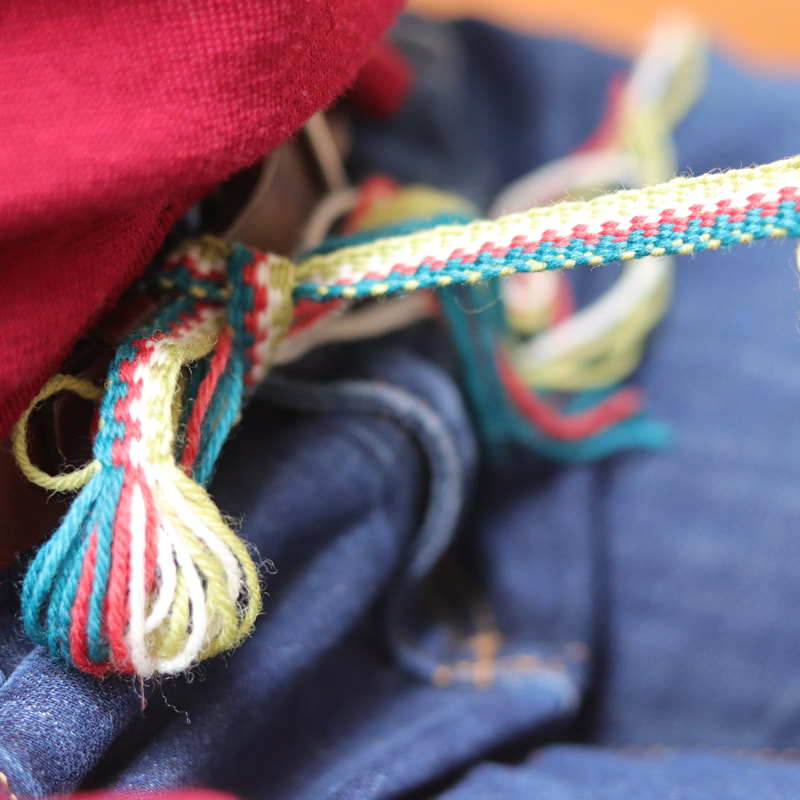
Divide the threads below the knot into 2 so that they can by tied to secure the band to your belt (or backstrap). Sit at the right distance so that you have a good tension and the heddle sits upright on the weft threads.
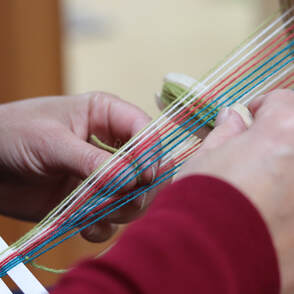
When weaving the first row, leave a tail to insert into the second row to secure it in place alongside the warp from the shuttle. Pull the edges of the weaving in tightly.
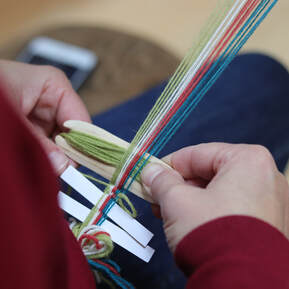
When you weave each row, leave a little loop. Then change the shed (move the heddle ) and insert the shuttle for the next row. Pack down the previous row and then pull the loop in tight to the side of the band. This will help to keep the edges neat. Keep the heddle well away from you so that it doesn't spread the weaving out.
Keep an eye on the width, using a ruler every once in a while to check that you are keeping it consistent
|
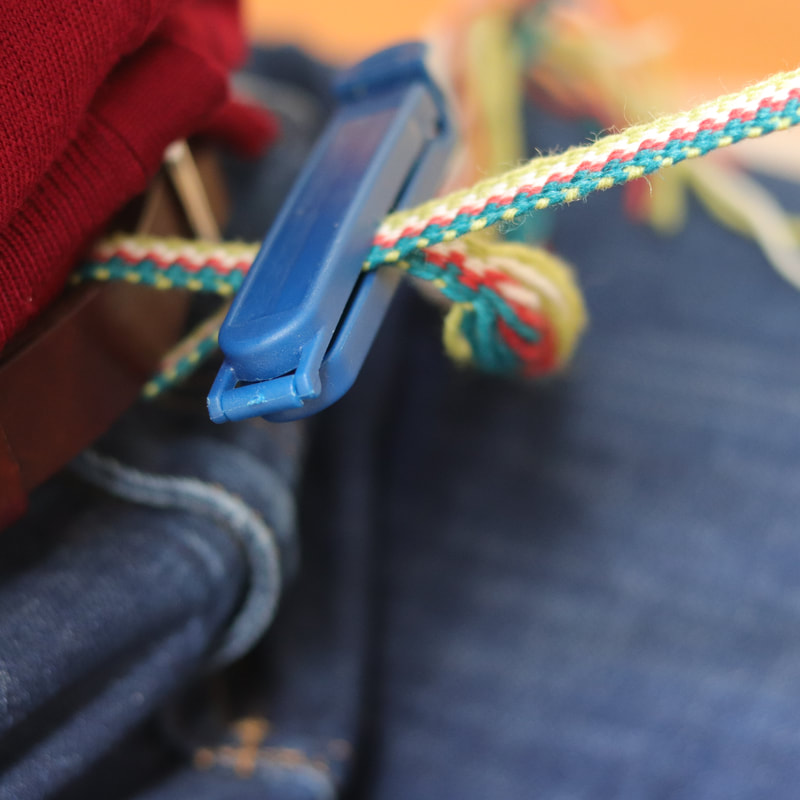
Once the weaving has progressed up the weft you'll need to retie it on your belt and move yourself closer to the tied end. Or if you have a plastic food clip that can be an easy way to readjust. once you've moved closer try to keep the tension on the weft the same as before so that the heddle sits upright.
|
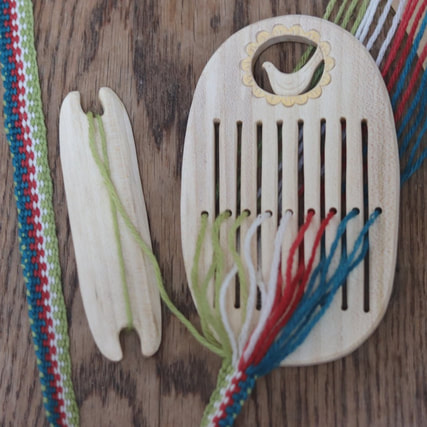
Happy weaving!
Patterns
Patterns repeat over 2 rows, it's fun to draft your own based on the colours you have available.
Here are some ideas to get you started
Here are some ideas to get you started
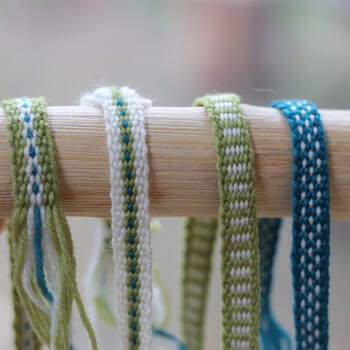
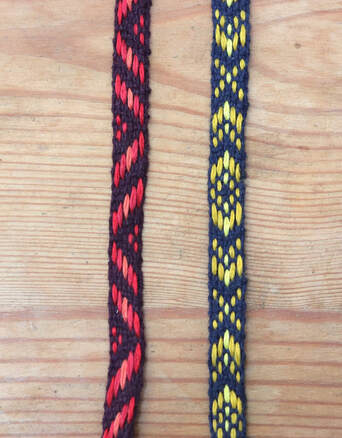
For these bands I didn't want to use the full width available, so missed out the outside hole and slot on each side.
the band on the left and the one next to it use the same pattern just in different colourways, they look very different due to the position of the white
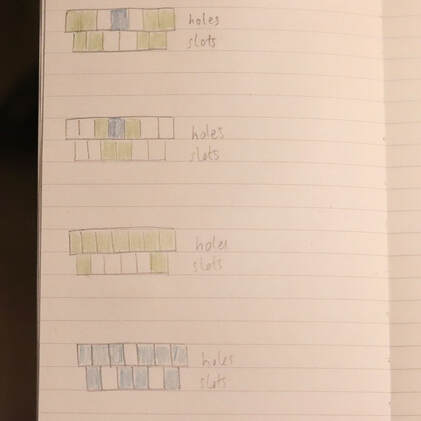
here are the corresponding patterns for the bands above
Weaving pick up patterns
Once you've had a go at some simple patterns like those above you might like to try your hand at some pick up patterns.
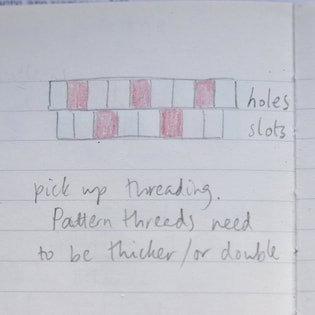
For these it's best to use something non-stretchy for the background threads. This could be something like a crotchet cotton, but in this case I've used linen yarn from www.midwinteryarns.com their rainbow pack is a lovely way to get a selection of beautiful colours. For the pattern threads you'll need something that is double the thickness of the background threads, this could be a thicker yarn or you could double up and use two threads in one hole/ slot.
For these it's best to use something non-stretchy for the background threads. This could be something like a crotchet cotton, but in this case I've used linen yarn from www.midwinteryarns.com their rainbow pack is a lovely way to get a selection of beautiful colours. For the pattern threads you'll need something that is double the thickness of the background threads, this could be a thicker yarn or you could double up and use two threads in one hole/ slot.
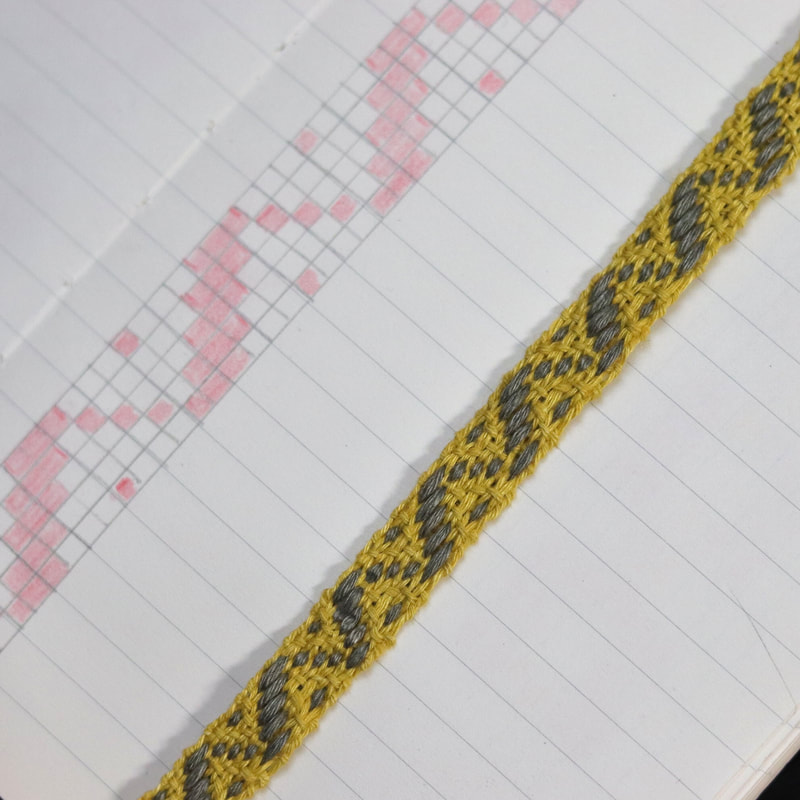
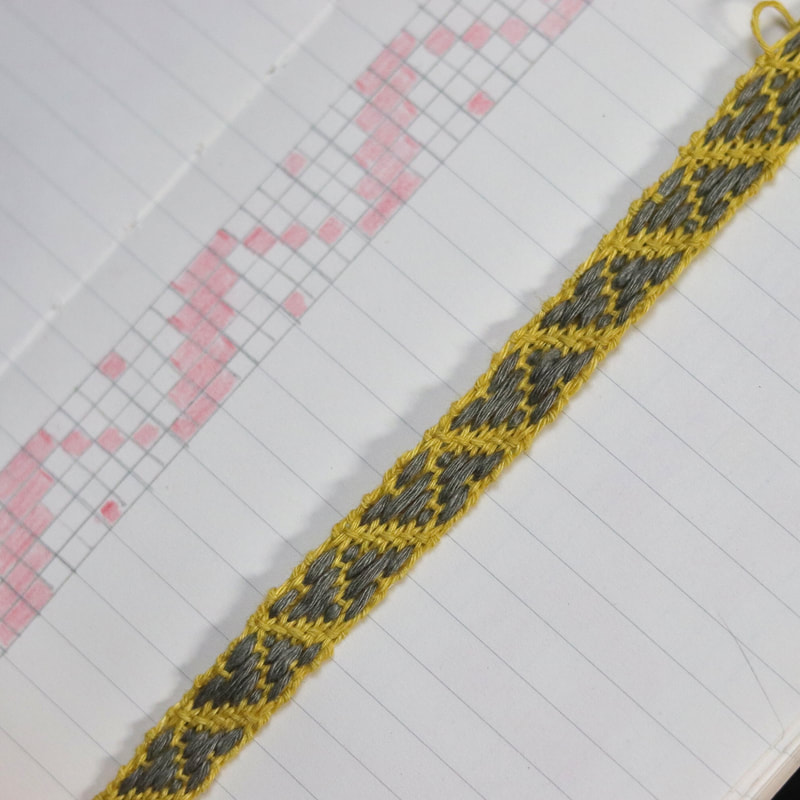
often the back of the band looks just as good as the front, showing a reverse image. Here's the front and back of the same band
Drawing your own pick up patterns.
Pattern threads can only appear on their own shed and stay up for either 1, 3, or 5 rows. Or 7 rows if they're not on an edge where the long floats wouldn't look so neat. It's best to establish the band with 2 or 3 rows where you don't pick up or push down the pattern threads, which gives a checker board effect. It makes it easier to draft the pattern from there.
Pattern threads can only appear on their own shed and stay up for either 1, 3, or 5 rows. Or 7 rows if they're not on an edge where the long floats wouldn't look so neat. It's best to establish the band with 2 or 3 rows where you don't pick up or push down the pattern threads, which gives a checker board effect. It makes it easier to draft the pattern from there.
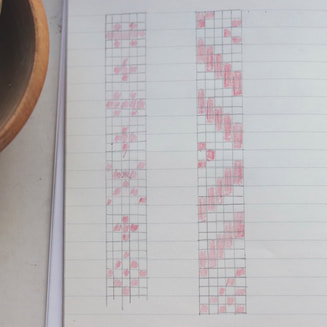
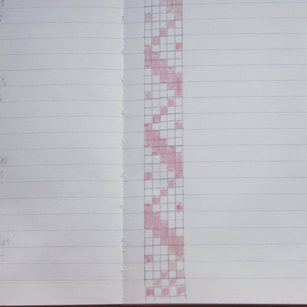
I keep a notebook for working out patterns, they aren't all successful but it's fun to experiment and puzzle away with them on paper first. The pattern on the right turned out really well, but I decided against using the pattern on the left for the moment as it would have long floats on the back in places, which would make it a lot more difficult to keep the edges looking neat. You don't have to keep to the same pattern all the way along your band but can mix and match different elements.
Further reading - Susan J Foulkes "Weaving Patterned Bands' pub. Schiffer 2018
